The real mistake is assuming you can wing it
I was two tabs deep into a “visa-free” rabbit hole when the airline site stalled on a tiny field: “passport expiry date.” It was 11:47 p.m., flights were fluctuating by the minute, and I suddenly couldn’t remember whether New Zealand cared about six months past arrival or past departure. That’s the moment winging it stops feeling spontaneous and starts feeling like gambling with your first day.
New Zealand is refreshingly straightforward compared with places that require interviews, but it isn’t frictionless. For most US travelers, the trap is assuming “no visa” means “no paperwork,” then discovering you still need an NZeTA (and the IVL fee), that your passport validity has to line up with NZ’s rule, and that a transit stop can quietly add its own requirements. None of this is hard—unless you find out at check-in, when the only “fix” is expensive and slow.
What tends to work for a 10–12 day road trip is doing a quick, boring sweep before you book anything nonrefundable: confirm passport expiration against your planned departure from NZ, decide whether you need an NZeTA/IVL and apply early enough to absorb processing hiccups, and keep proof of onward travel plus a realistic way to show funds if asked. Then plan for arrival friction: the NZ Traveller Declaration timing, and biosecurity honesty (snacks, hiking boots, camping gear) so you’re not stuck re-bagging while everyone else is already picking up their rental car keys.
Confirm your passport meets NZ rules

I had my passport open on the counter, thumb on the photo page, doing the math with a pen like it was a mortgage: depart Auckland on a Tuesday, passport expires the following Friday. On paper it “covers the trip,” but New Zealand’s rule is based on when you leave New Zealand, not when you land, and that gap is where check-in agents get unhelpful fast. The clean version: make sure each passport is valid for at least 3 months beyond your planned departure date from New Zealand.
If you’re close to the line, the trade-off is simple: renewing now costs time and money, but renewing later risks a same-day failure you can’t brute-force with a phone call. For a 10–12 day road trip, I’d still aim for more cushion than the minimum—think “months,” not “days”—because flight changes, weather diversions, and spontaneous date shifts happen more often than you’d expect once you’re tired and jet-lagged. And double-check that the name on your passport matches your ticket exactly (hyphens, middle names, suffixes), since fixing a mismatch at the airport is slower than you want it to be.
Also: condition matters. A passport that’s water-warped, peeling, or otherwise damaged can turn into a judgment call at the counter, which is a terrible moment to discover you’re the exception. If yours looks rough, replacing it before you lock flights is the boring move that protects Day 1.
Decide: NZeTA, visa, or nothing
I stalled at the payment screen with two browser windows open—one for flights, one for “NZeTA”—because the airline’s prompt made it feel like I was about to buy the wrong product. The fare was holding for 12 minutes, and I couldn’t tell whether “visa-waiver” meant I could skip everything or whether I’d be fixing it at the counter.
For most US passport holders visiting New Zealand for a short trip, the practical default is: you don’t apply for a visitor visa, but you do get an NZeTA, and you’ll pay the IVL as part of that flow. It works best for the kind of 10–12 day road trip where you’re not working, not studying long-term, and you can show you’re leaving (a return or onward ticket). The trade-off is timing: approvals can be fast, but if your name/passport details don’t match perfectly, the “quick” path turns into a slow email chain when you’re already juggling rentals and first-night lodging.
A visitor visa starts making sense if your plans don’t fit the simple lane—longer stays, complicated circumstances, or anything that sounds like “maybe we’ll figure it out when we get there.” “Nothing” only really applies if you already hold the right NZ visa/status; most couples in your situation won’t. Before you lock flights, decide which bucket you’re in, then apply early enough that a minor typo doesn’t cost you Day 1.
Apply correctly and avoid common delays
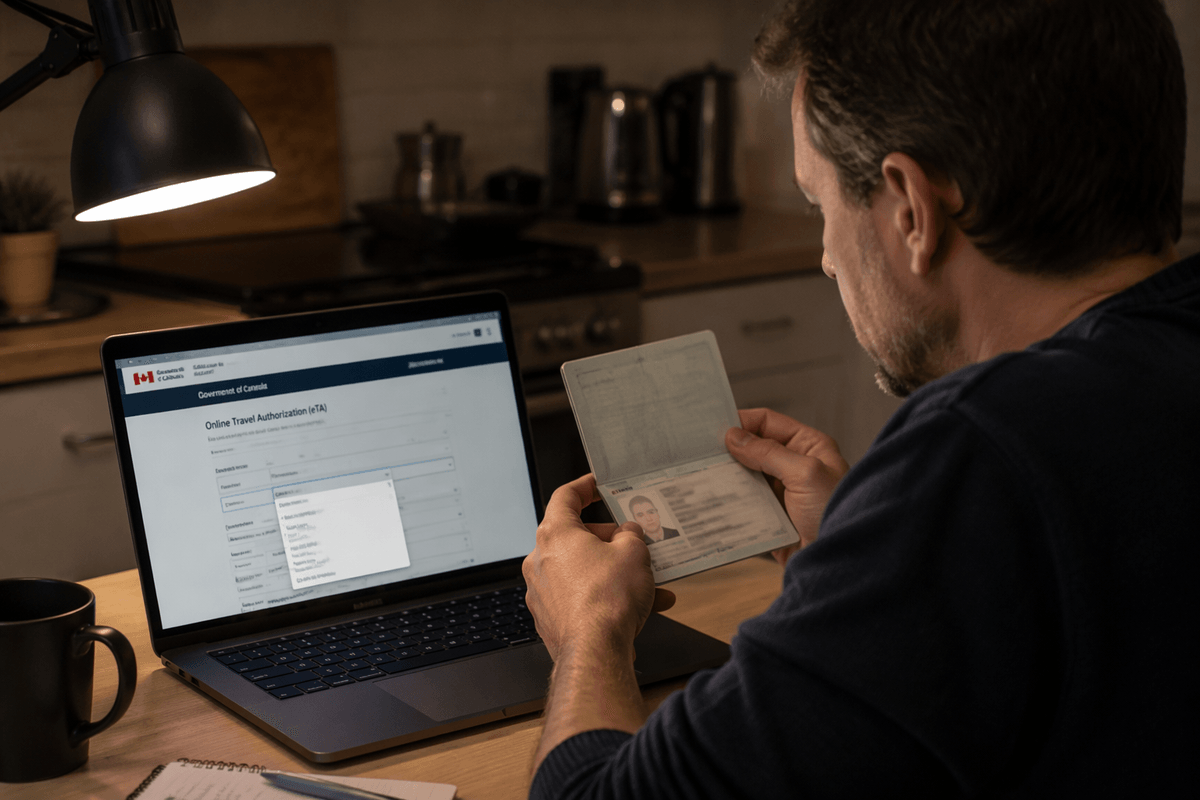
I almost submitted our NZeTA with my partner’s old passport number because Chrome autofilled it from a form we used months ago. It was 12:06 a.m., the confirmation email field was one character off, and I caught it only because I read the last four digits out loud. That’s the kind of “tiny” mistake that turns into a check-in problem when you’re already hauling carry-ons through a crowded terminal.
Apply like you’re feeding a picky database, not a human: passport number, issue/expiry dates, and full name have to match the passport exactly (spacing and middle names included). The trade-off is speed versus certainty—yes, the mobile app can be faster for scanning, but the website can be easier to review slowly before you pay. Use the same email you’ll have access to on travel day, save a screenshot/PDF of the approval, and avoid third-party “expedite” sites that add fees without adding authority.
Give yourselves timing slack even if approvals are often quick: I’d treat “at least a week” as the minimum and “two to three weeks” as the calm option, especially if flights or passports are newly renewed. If you transit through another country, check whether that stop adds its own entry permission; it’s a boring extra tab now, and a brutal surprise at the gate. Keep a copy of your onward ticket handy, plus a realistic way to show funds if asked (a banking app is fine until roaming fails). Then, 24–72 hours before landing, do the NZ Traveller Declaration and decide what you’ll declare—snacks, hiking boots, and camping gear are easy to process when you’re honest, and weirdly time-consuming when you’re not.
Arrival rules that trip people up
I realized how literal New Zealand is about “arrival rules” while standing in the jet bridge line, watching people dig for pens that no longer mattered. The Wi‑Fi dropped, my phone hovered at 8% battery, and I suddenly cared a lot about whether the NZ Traveller Declaration was already submitted. It felt like the difference between a normal queue and the kind where you miss your first rental-car pickup window.
Two things tend to trip up US couples because they don’t feel like “immigration.” One is proof: you may be asked for onward travel (not vibes—an actual booking) and, less often, evidence you can support yourselves. The other is timing: declarations, confirmations, and receipts are easy until roaming fails or the airport’s free Wi‑Fi crawls. I keep a screenshot of the declaration confirmation and our onward ticket in a single album so either of us can pull it up, even offline.
Biosecurity is the bigger wild card, mostly because it’s strict but not complicated. If you’ve got hiking boots, tent stakes, a daypack that lived on a trail, or any food (including “just protein bars”), treat it like airport liquids: assume it counts, declare it, and let them decide. The trade-off is a few extra minutes versus the slow, awkward version where you’re repacking under pressure. If you want a smooth Day 1, pick “honest and slightly over-declared,” then walk out like you meant to be efficient.
My do-it-now checklist before flying
At 6:10 a.m. the morning you book flights, open a Notes app and write two dates: your planned departure from New Zealand and each passport’s expiry. If either passport won’t be valid for at least three months after you leave NZ, stop and renew before you lock anything nonrefundable—even a “small” shortfall becomes a check-in debate you can’t win when you’re tired. While you’re at it, compare the passport name to the ticket name character-for-character (middle names, hyphens, suffixes), because fixing it later is slower than it should be.
Next, decide your lane and commit: for most US short-stay trips, that means NZeTA + IVL, not a visitor visa, and definitely not “we’ll sort it at the airport.” Apply with a clean slate (no autofill), then save two copies of the approval—one screenshot in a shared album, one PDF in email—so it still exists when airport Wi‑Fi is acting like dial-up. The approvals can be quick, but give yourselves a week minimum; two to three weeks buys you breathing room if a digit is wrong or a passport was recently renewed.
Two days before wheels-down, submit the NZ Traveller Declaration and screenshot the confirmation. Put your onward ticket (and a realistic funds back-up, like offline-access banking screenshots) in that same album. Finally, pack for biosecurity like it’s a timed exam: if you have any food, dirty hiking boots, camping gear, or anything that touched soil, declare it—over-declaring costs minutes, under-declaring can cost your first afternoon. If you do only one “boring” thing, make it the shared offline folder; it’s the small move that protects Day 1.